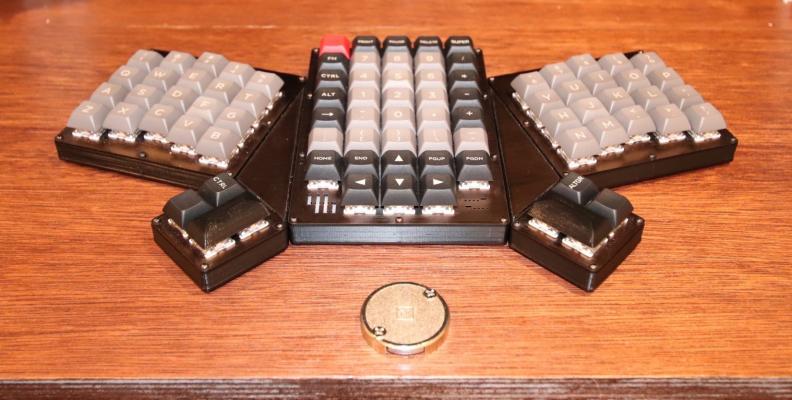
I fell down a dark, deep rabbit hole. For those of you unfamiliar with mechanical keyboards (and the amazing subreddit by the same name), run.
Seriously though, if you get sucked into this it will get expensive fast.

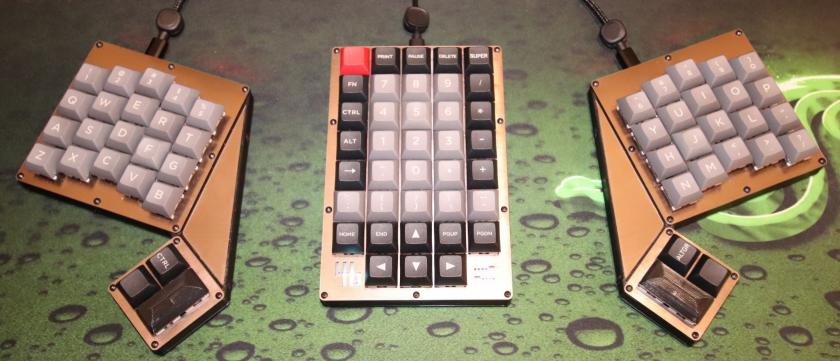
Initially when I dreamed up the project I’ve since nicknamed Forty Six (the number of keys it has) I was looking at modifying the Mitosis keyboard (a bluetooth keyboard with a peculiar layout made by redditor Reverse Bias). I initially got my own boards made with modifications to include a Li-Ion battery, charging circuit and a fourth row to include the number keys (and to sacrifice some of the extra function keys they had laid out below the keyboard). I won’t bore you with the details of manufacture (it was just a long slog through several iterations using DipTrace, getting them produced by a PCB manufacturer, the external plates laser cut and, 3D printing a spacer to hold everything together). After it was built I immediately ran into the issue of having lost all of my function keys (no F5, Home or End key really hurt) and despite their presence on higher layers (I could hit a button on the keyboard and all of the keys would change what they do) I couldn’t stand doing that for even basic functions. So I built another board, a connecting board that would sit between the two freely moveable “hands”. So back to the drawing board, an evening of DipTrace and a few weeks of waiting and I had a console with the numpad and all the extra keys ready to go.

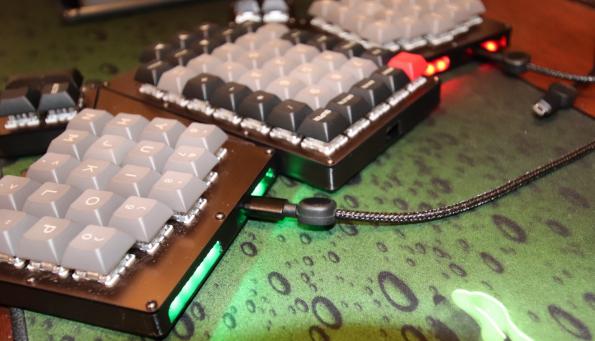
Small problem. I lent it to a friend to try out and, through no fault of their own, they discovered that the microcontroller’s USB connector had dry joints (hence why it’s unplugged in some of the images). Which would be fine, but my design, to save vertical space, had the components of the Pro Micro (the controller board) sandwiched between the PCB of the controller and the PCB the switches were mounded on. And there’s no way in hell I’ll be able to get the controller desoldered without destroying something, PCB, controller (which doesn’t matter as much) or the plastics (the brass-look top plate can’t be removed without desoldering the switches which can’t be done without desoldering the controller). So another lesson learnt, keep the components within easy reach.

The last problem I have is… That I’m going to do it all again. My intent is to take everything I’ve learnt from this little endeavour, fix the mistakes I’ve made and build a slightly more traditional keyboard (it’s hard to get used to). In the mean time I’ll make do with the Corsair Strafe I bought a while ago, even though it frustrates me to no end (whoever thought a fixed 8mm cable was appropriate for a keyboard needs to seriously reconsider their choices). So stay tuned, this time I plan to document the process better, from start to finish.
